
Build your own agent
Build your own agent when you have a job you do often and want an AI that already knows how you like it done. You write its instructions once, pick the model it runs on, and give it the skills and apps it needs. No code is involved.
Before you begin
Section titled “Before you begin”- You need a role that can create agents. If you don’t see New agent (+) at the top of your Agents list, ask an admin.
- Connect your own AI first, with the model you want the agent to use. See Connect your own AI.
- Anything you want to attach (a skill, a plugin, a connector or a UI template) needs to exist already. Each step links to where you can make one.
Create an agent
Section titled “Create an agent”-
Select Agents in the sidebar, then New agent (+) at the top of the list.
The Agent Builder opens first. To fill in the steps below yourself, open the menu at the top (it reads Builder) and choose Configure manually. The Create an agent form opens over your Agents list.
-
Name. Type a Name (required), for example “Fleet analyst”. It shows in your Agents list and beside everything the agent says. Pick a face for it, or keep the one made from its name. Select Next.
-
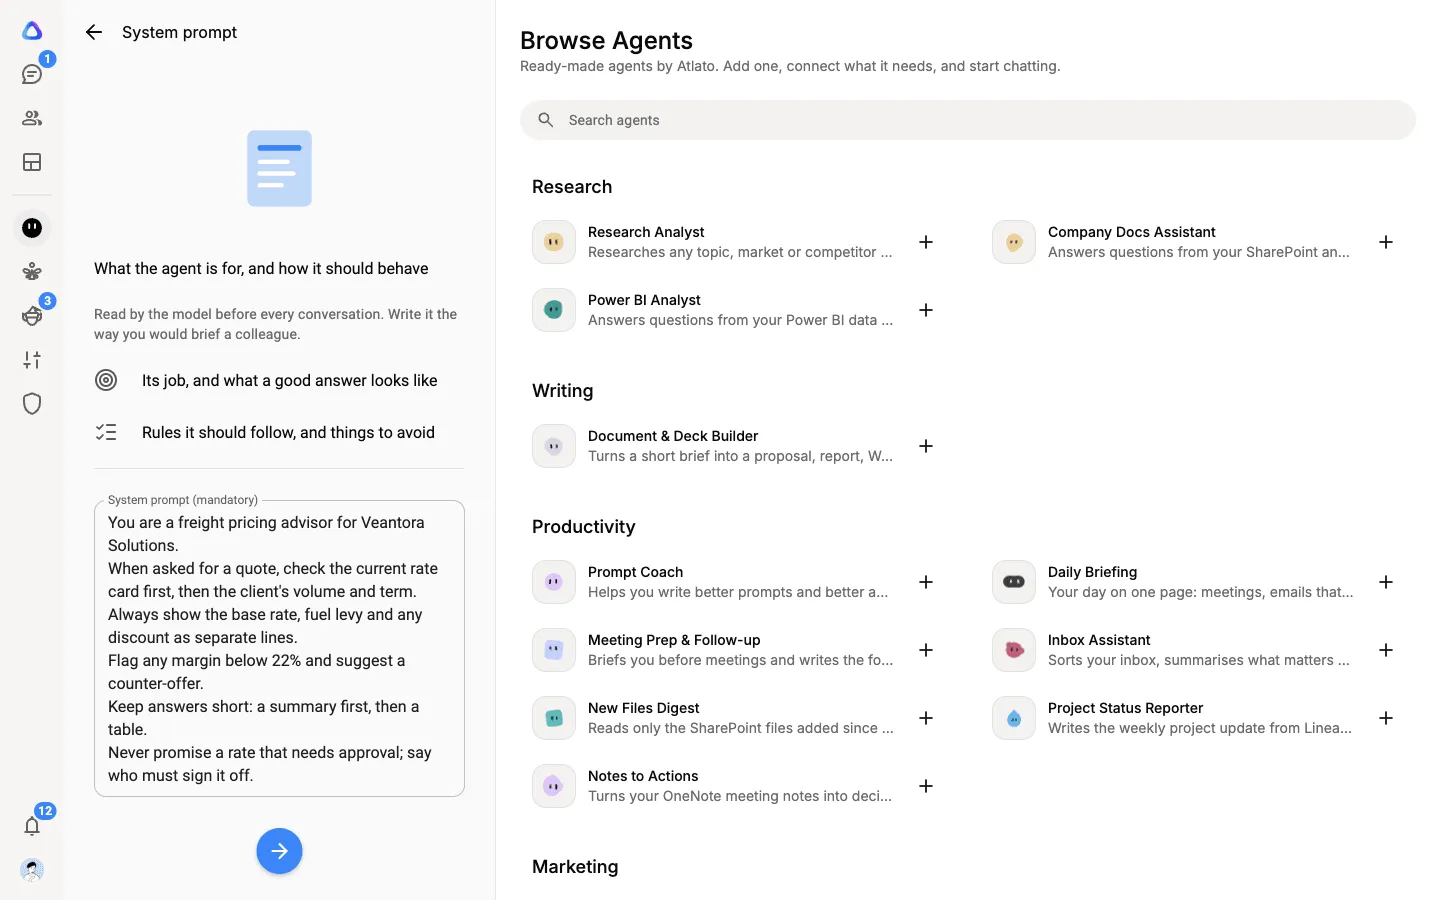
System prompt. Describe what the agent is for and how it should behave: its job, what a good answer looks like, rules to follow and things to avoid. This is the most important step, so be specific. Select Next.
-
Choose a model. Select Model and pick one from your connected AI providers. Under Thinking, choose how much the model reasons before it answers: Default leaves it to the model, and High gives the most reasoning but uses the most credits. Select Next.
-
Skills, Plugins and Connectors. Each is optional and has its own step. Pick the ones this agent may use; only those are offered to it. If what you need isn’t listed, the link at the bottom of the step takes you to make one. Select Next after each.
-
Knowledge. Optional. Add documents and websites the agent should answer from. Then choose what it may do: Web search and Read web pages (both start off), Create documents, charts and code and Create images (both start on), and Use only my sources. See Give it knowledge. Select Next.
-
UI templates. Optional. Pick the cards the agent can show in a chat to ask for input, such as a form or a set of choices. Select Next.
-
Who can see this agent. Choose Only me, Shared with (then add the people), or Anyone to make it discoverable across the workspace.
-
Select Create agent.
The agent is added to your list, ready to chat.
Change an agent
Section titled “Change an agent”Open the agent’s menu (⋮) in your Agents list:
| Menu item | What it changes |
|---|---|
| Edit | Every setting, on one screen in the Agent Builder, however the agent was made |
| Duplicate to edit | For an Atlato agent: makes your own copy and opens it in the Agent Builder |
| Memory | What it has learnt about you |
| Runs on… | Which of your AI connections it uses, when more than one can |
| Delete | Removes the agent |
Share an agent with teammates
Section titled “Share an agent with teammates”Choose Shared with or Anyone under Who can see this agent. The agent then appears under Discover in your teammates’ Agents lists, and they select + to add it to their own.
A shared agent keeps its own model and instructions. Each teammate runs it on their own AI connection for that model, and connects their own accounts for its apps, so nobody uses anyone else’s sign-ins.