
Workspaces
A workspace is where a team’s work lives: its members, chats, tasks, agents, elves, files and AI keys. Each workspace has its own plan and its own credits.
One account can belong to several workspaces. You might have your own workspace and also be a member of your company’s, or of a client’s. Everyone who signs up gets a workspace of their own, including people who joined through an invitation. Everything you do happens in one workspace at a time, the one you have switched to.
Your role in each workspace
Section titled “Your role in each workspace”You have a role in every workspace you belong to, and it can differ from one workspace to the next. You might own one workspace and be an ordinary member of another.
- The Owner created the workspace and can do everything in it, including deleting it.
- Admins run the workspace with the Owner: members, roles, billing and settings.
- For everyone else, what they can see and do is set by the role an admin gives them.
See Roles for how admins decide what each role can do.
Switch workspace
Section titled “Switch workspace”-
Select your profile photo at the bottom of the left rail.
-
Under Workspaces, select the workspace you want. The one you are in has a tick, and each shows your role in it.
The app opens Chats in the workspace you picked. Chats, tasks and keys each belong to one workspace, so what you see changes with it.
The next time you open Atlato ABC on the same device, it opens in the workspace you used last. On a new device, it opens in the first workspace you joined. After you accept an invitation, it opens in the workspace you just joined.
See all your workspaces
Section titled “See all your workspaces”Select your profile photo, then Workspace settings. Under Your workspaces you see every workspace you belong to with your role in it. Open the menu on a workspace for:
- Switch to this workspace
- Edit, to change its name and picture (owners and admins)
- Delete (owners only)
Create another workspace
Section titled “Create another workspace”-
Select your profile photo, then Workspace settings.
-
Select Create workspace.
-
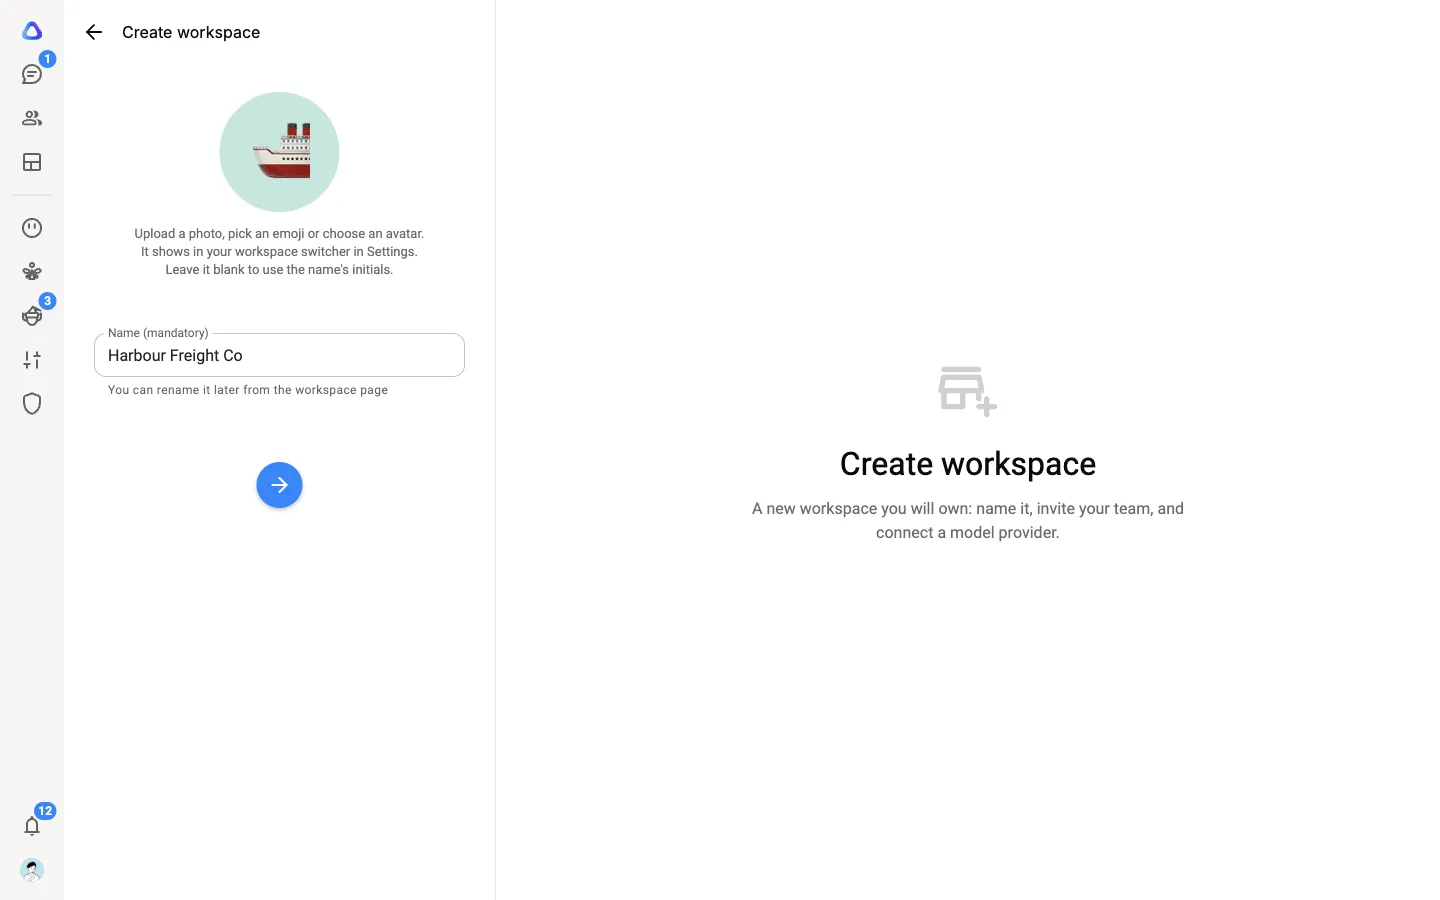
Type a Name, choose a picture if you like (a photo, an emoji or an avatar), and select Create workspace.
The workspace is created and you are switched into it. You are its Owner.
-
Under Invite your team, type Email addresses (separate several with commas or spaces) and select Send invites, or select Next to skip.
-
Under Connect an AI provider, connect a provider, or select Finish to do it later.
You can own up to 2 workspaces on the Free plan. To create another, one of your workspaces needs the Pro or Max plan. See Plans.
Rename a workspace or change its picture
Section titled “Rename a workspace or change its picture”Owners and admins can do this.
-
Select your profile photo, then Workspace settings.
-
Open the menu on the workspace and select Edit.
-
Change the Name or the picture, then select Save.
Delete a workspace
Section titled “Delete a workspace”Only the Owner can delete a workspace, and only when they belong to at least one other.
-
Select your profile photo, then Workspace settings.
-
Open the menu on the workspace and select Delete.
-
Type the workspace’s name to confirm, then select Delete workspace.