
Create your workspace
For owners
Signing up creates your Atlato ABC account and your own workspace at the same time. The workspace is where your team, your chats and your settings live, and as the person who created it, you are its Owner.
Only signing up is required. Naming the workspace, inviting people and connecting an AI provider can each be done now or later, in any order.
Sign up with email
Section titled “Sign up with email”-
On the Atlato ABC sign-in page, select Create one.
-
Enter your First name, Last name, Email and a Password.
Your password needs at least 8 characters, with an uppercase letter, a lowercase letter, a number and a special character.
-
If you were given a referral code, enter it under Referral code (optional).
-
Tick the box to agree to the Terms of Service and Privacy Policy, then select Create account.
-
Select Verify your email, then enter the Verification code we sent to your inbox and select Verify email.
No email? Check your spam folder, or select Resend code.
-
When you see Your email is verified, select Go to login and sign in with your new email and password.
Sign up with Google, Microsoft or Facebook
Section titled “Sign up with Google, Microsoft or Facebook”On the sign-up page, select Google, Microsoft or Continue with Facebook and follow the provider’s sign-in. Your name and email come from that account, so there is no password to set and no code to enter.
If you sign up this way, your password and any two-step verification are managed by Google, Microsoft or Facebook, not by Atlato ABC.
What happens next
Section titled “What happens next”After you sign in for the first time:
- Your workspace is ready. It starts with a placeholder name based on your first name, such as “Ada’s Workspace”. You can rename it at any time.
- The welcome tour opens. A few short videos introduce each part of the app. See the welcome tour.
- You are offered the Connect AI wizard. It helps you connect your first AI model, and you can select Skip for now. See Connect an AI model.
Then you land in Chats, ready to start.
Finish setting up your workspace
Section titled “Finish setting up your workspace”Do these whenever it suits you. None of them blocks the others.
Give your workspace a name and picture
Section titled “Give your workspace a name and picture”-
Select your profile photo at the bottom of the left rail, then select Workspace settings.
-
Under Your workspaces, open the menu on your workspace and select Edit.
-
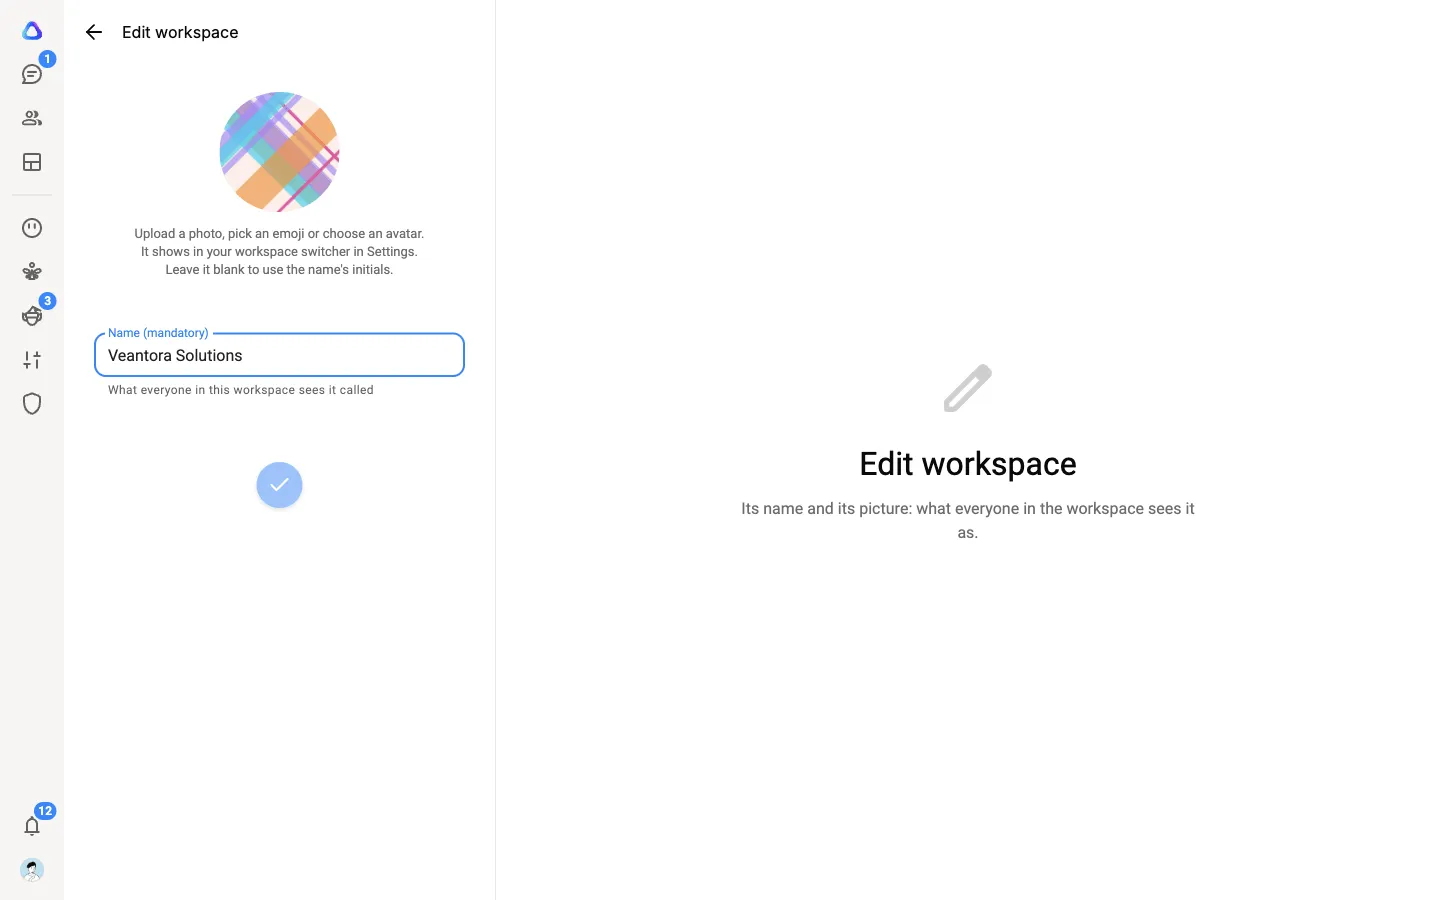
Type a Name, and choose a picture if you like: upload a photo, pick an emoji or choose an avatar. Without one, the workspace shows the initials of its name.
-
Select Save. Everyone in the workspace sees the new name and picture.
Invite your team
Section titled “Invite your team”Invite people by email or share an invite link from Admin → Members. See Members and invitations.
On the Free plan a workspace holds 5 members, including you, and invitations that are still waiting count toward that number. See Plans for the other plans.
Connect an AI provider
Section titled “Connect an AI provider”Chats need at least one working AI model. If you skipped the wizard, connect one from Settings → AI providers, or simply open a new chat and the wizard appears there. See Connect an AI model.